Shanny’s Own*
Oatmeal Creme Pies
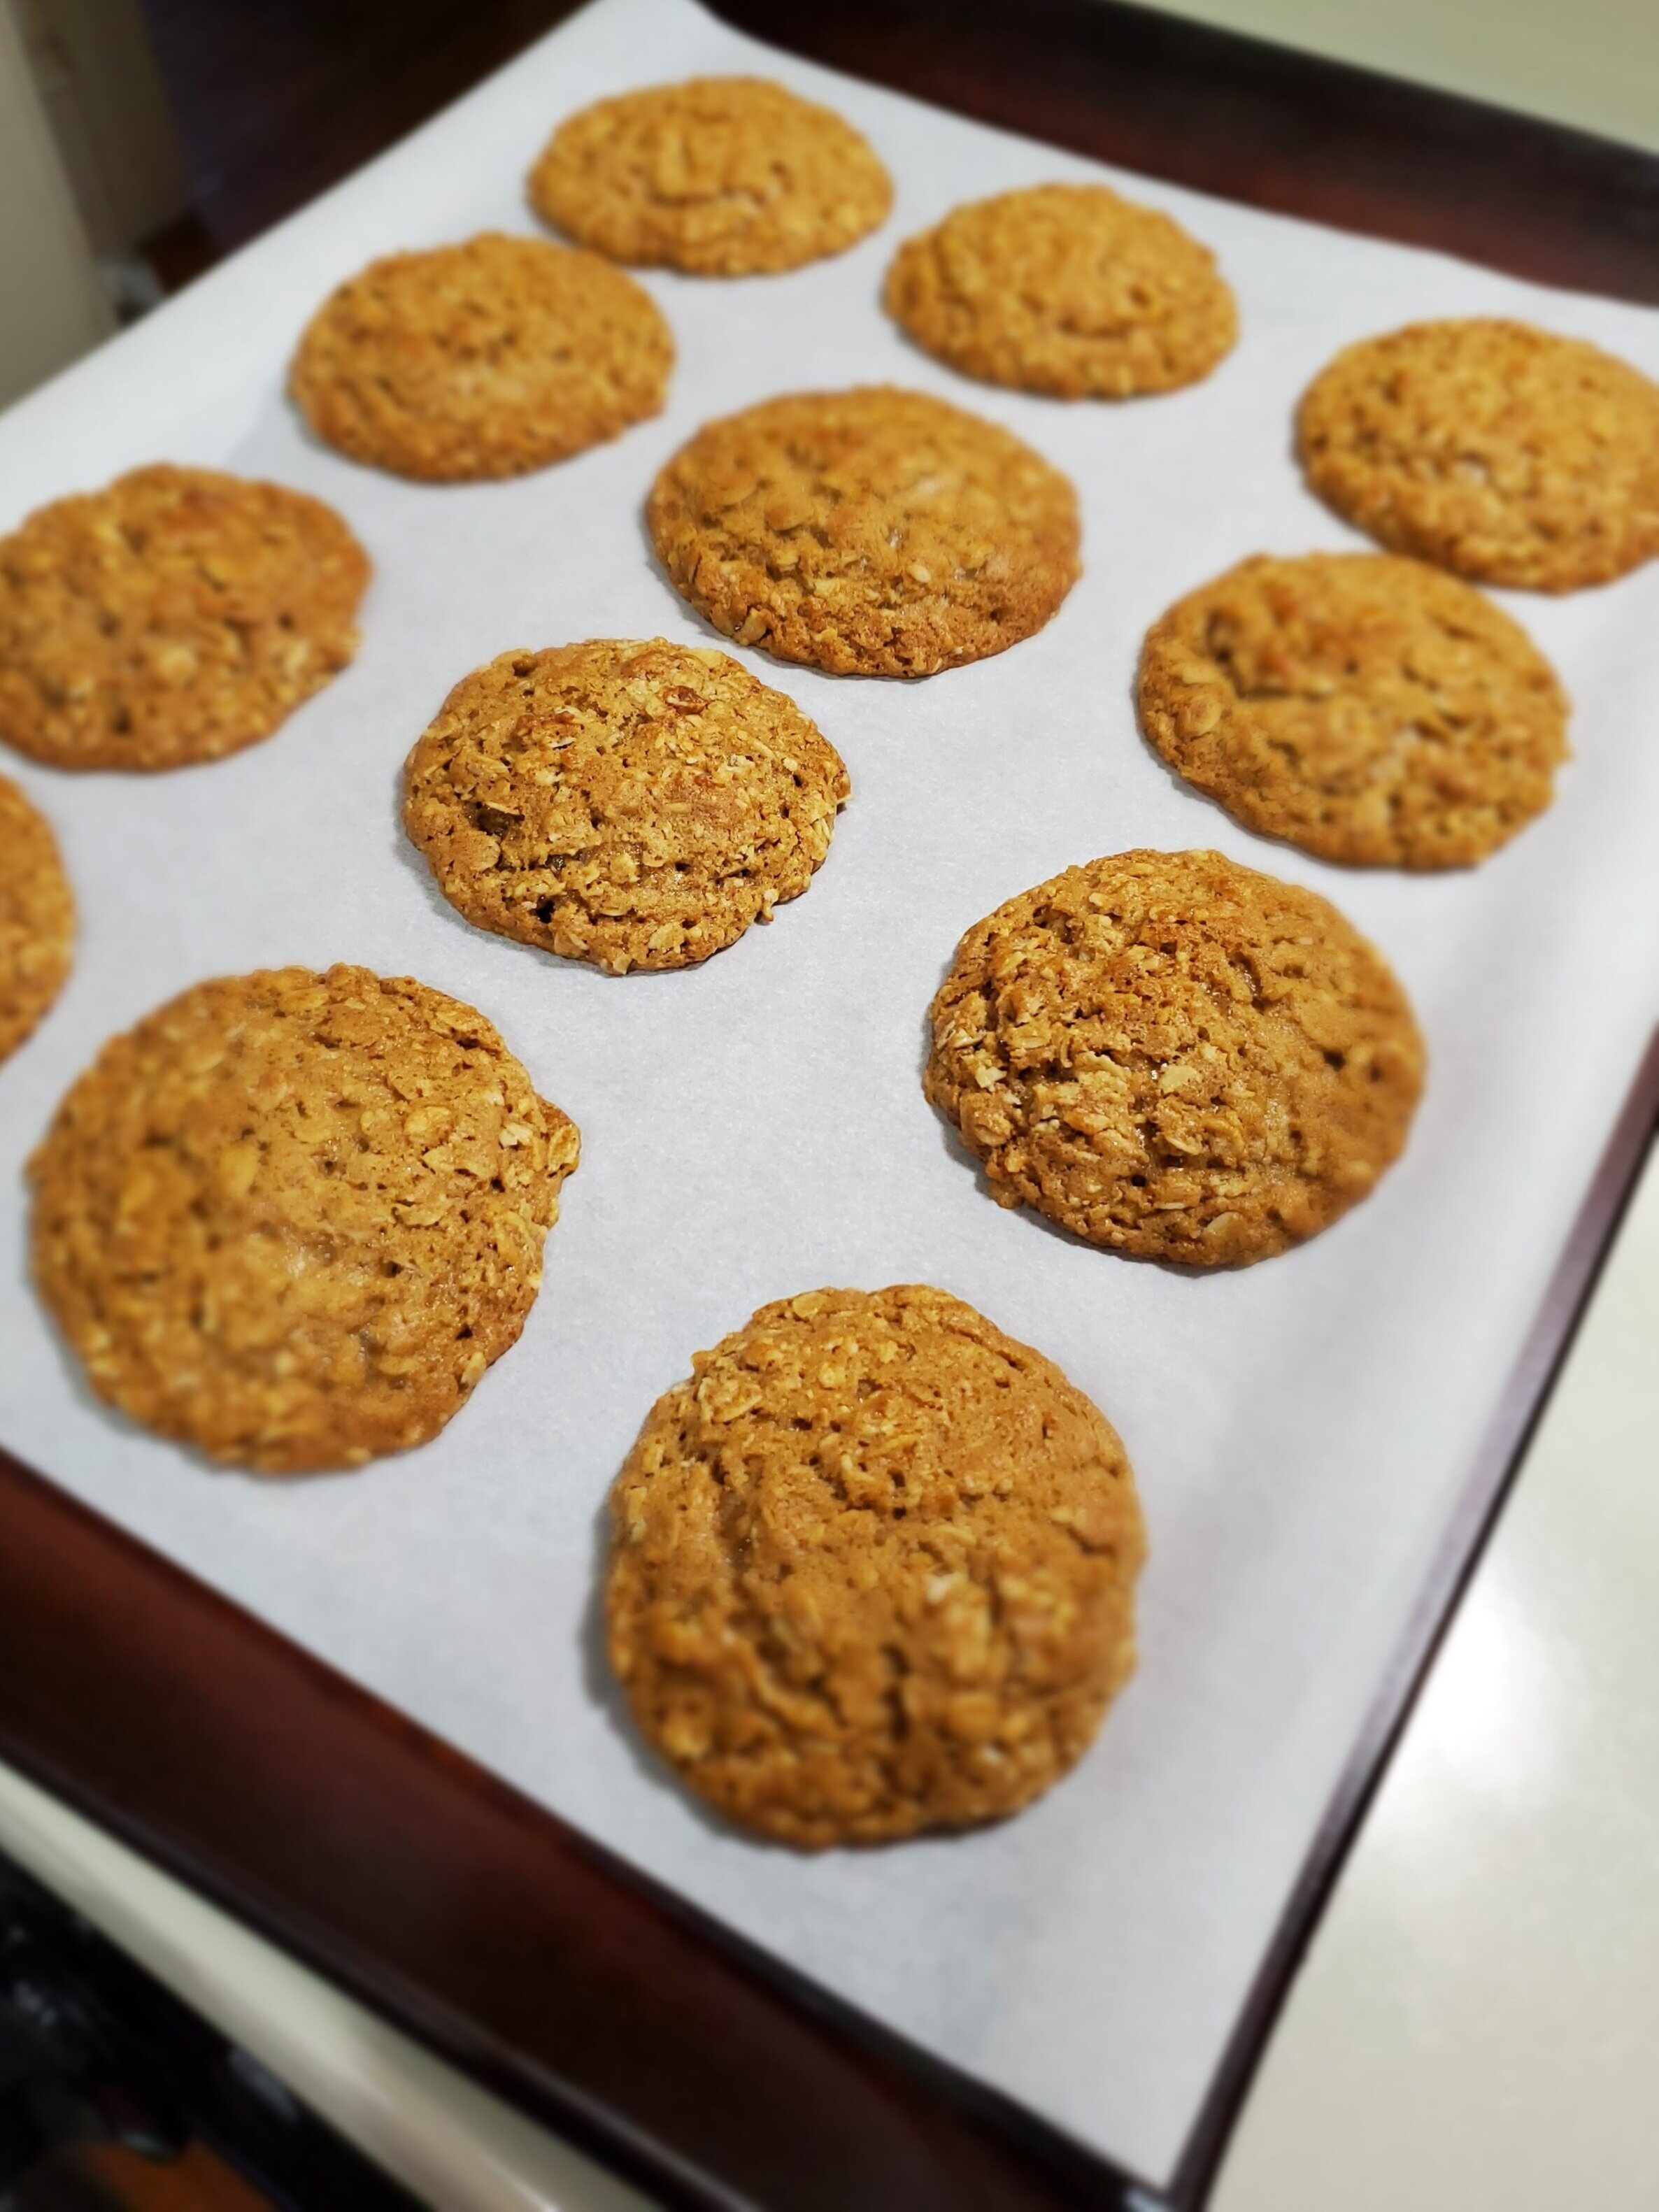
The finished product!
I don’t know what these things are called in other parts of the world (or if they’re even a thing), but in my area, the storebought brand that’s most famous for these is called Little Debbie’s.
I’d never tried one of these until I met my mother-in-law. The box of Little Debbie’s Oatmeal Cream Pies was a staple in her kitchen, and all it took was one taste of these babies and I was hooked.
The only drawback is that they’re full of all the lovely preservatives and enriched “extras” that I really don’t care to ingest. Give me good ol’ butter and oats any day. You can imagine my excitement when my bestie shared her very own recipe* for these. And by very own, I mean she looked for it and found it all by herself, so I’m calling it hers.
I only made minor adjustments, like using salted butter because I don’t buy unsalted butter, and using rolled oats because I don’t usually buy quick-cooking oats. If you use rolled oats, you’ll get a heartier texture to your cookies, which was well received by my family. If you really want a lighter texture but only have rolled oats in the house, you can toss your dry oats in a food processor for a few pulses and that will make them just like quick-cooking oats. I was too lazy to clean an entire food processor for just a few zaps, and I regret nothing.
So—without further ado, here’s the recipe:
The cookie:
1 1/2 cup butter, softened
1 cup dark brown sugar, packed
1/2 cup granulated sugar (I used organic raw sugar)
1 large egg
2 tsp vanilla extract
1 Tbsp dark molasses
1 1/2 cups flour (AP is fine; I use King Arthur brand)
1 tsp baking soda
1/2 tsp salt
3/4 tsp ground cinnamon
1/4 tsp ground cloves
3 cups uncooked quick-cooking oats (I used rolled oats—see note above)
GET YOUR OVEN READY (because I hate when recipes don’t start with this): Preheat your oven to 375F. Line a large cookie sheet with parchment paper or a baking mat. I cook on stoneware, which is easy to clean, but I still ended up using parchment paper because most oatmeal cookies are sticky.
MIX WET INGREDIENTS: You’ll want to use a stand mixer if you have one, because this dough ends up pretty stiff. Cream the butter and sugars together at medium speed until light and creamy, then add eggs, vanilla, and molasses and mix until blended.
MIX DRY INGREDIENTS: In a separate bowl, combine the flour, baking soda, salt, cinnamon, and cloves. Add the oats and stir together until they’re nicely blended.
PUT IT ALL TOGETHER: With your mixer on a low setting, slowly add the dry ingredients to the wet mixture. Don’t beat it. If you need to stir the last bit in by hand (if you don’t have a heavy-duty mixer), do that.
Form the dough into balls, consistent in size if you have a cookie scoop. These cookies will spread, so make sure there’s about 2 inches between them. I made an even dozen per sheet, and that seemed to leave enough space.
BAKE: Bake for 10 minutes, until cookies are lightly golden around the edges. Let them cool on the cookie sheet for 3 minutes before removing them to a wire rack.
Now, at this point, you may want to simply run away with all the cookies, because these are great as a stand-alone oatmeal. But resist the urge, because there are whipped filling calories to be consumed, and they will not be denied.
the creme filling:
3/4 cup butter, softened to room temp
3 cups confectioner’s (powdered) sugar
3 Tbsp heavy cream
1 1/2 tsp vanilla extract
WHIP IT UP: Get that mixer out again and beat the butter for about a minute, until it’s creamy. Add the powdered sugar and mix on medium speed for 1–2 minutes. Pour in the heavy cream and vanilla, then mix it all on high speed for about 3–4 minutes until it’s a big pile of fluff. You can add a little more cream (maybe another teaspoon or so) if you feel it’s too thick, but I found that these proportions worked well.
FILL ’EM UP! Spread cream filling on the bottom sides of half the cookies, then top them with the remaining cookies with bottoms facing each other. I should note here that the photo on the left is the filling when it was done being whipped. Because I didn’t have time to fill the cookies right away, I put the filling in the refrigerator, and that’s why it looks like little ice cream scoops in the middle photo. I just waited a short while before I spread it around, so it didn’t damage the cookie.
SIZE MATTERS: I used a medium-sized scoop for these cookies so they were on the larger side, just like the Little Debbie’s ones. This helps to keep the cookies softer. The same scoop worked pretty well for the filling, so perhaps use the same size of scoop for cookies and filling, and your proportions should work out without skimping or leftover filling.
cookie aftercare:
HOW TO STORE THEM: These can be stored in an airtight container in the refrigerator up to five days. They probably won’t last that long, but if they do . . .
CAN I FREEZE THEM? Why, yes, you can. The original recipe recommends wrapping each assembled cookie with plastic wrap, then storing in a freezer bag. I say you can probably toss them in a reusable storage/freezer container and not waste the plastic wrap or single-use baggie. Just make sure you let them sit at room temperature for at least 15 minutes before eating them, no matter how you store them.


